Ready to go live on Instagram? It's as simple as heading to the Stories camera, swiping over to 'Live', popping in a title, and hitting that broadcast button. But let's be real—the difference between an okay live stream and a great one is all in the prep work.
Your Pre-Broadcast Game Plan
Just hitting the 'Live' button without a plan is a recipe for disaster. Think of it like trying to cook a gourmet meal without looking at the instructions—you might end up with something edible, but it's probably going to be a mess. A quick pre-flight check will make sure you come across as a pro from the second you start.
Setting the Scene for Success
Where you broadcast from matters. A lot. You don't need a fancy studio, but a few small tweaks can make a massive difference in your video quality.
First and foremost, your internet connection needs to be rock-solid. Nothing makes viewers bail faster than a stream that's constantly buffering or cutting out. Hop on a reliable Wi-Fi network; don't leave it to chance with your cellular data.
Next up: lighting and sound. Find a spot with good, clean light—facing a window is always a winner. If natural light isn't an option, a simple ring light is a game-changer. Also, make sure your space is quiet. Your audience wants to hear you, not your dog barking or the traffic outside.
Pro Tip: Do a quick test run! Record a short video on your phone's camera right before you go live. This is your chance to catch weird shadows, fix your camera angle, or realize your mic sounds muffled before anyone else does.
Before you jump in, it's a good idea to have a checklist. This ensures you've covered all your bases for a high-quality, professional-looking stream.
Instagram Live Pre-Broadcast Setup
| Element | Why It Matters | Pro Tip |
|---|---|---|
| Stable Internet | Prevents lag and buffering that cause viewers to drop off. | Run an internet speed test beforehand. If your Wi-Fi is spotty, move closer to the router. |
| Good Lighting | Ensures your audience can see you clearly. | Natural light is best. If unavailable, use a ring light or place a lamp in front of you. |
| Clear Audio | Makes sure your message is heard without distractions. | Use an external microphone if possible. Find a quiet room and close the door. |
| Steady Camera | Avoids shaky footage that can be distracting or nauseating. | Prop your phone on a tripod or a stable surface like a stack of books. |
Having these four elements locked down is the foundation for any successful live broadcast.
Crafting Your Content and Title
Okay, your tech is sorted. Now, what are you actually going to talk about?
Wingin' it can be fun, but having a general outline keeps you from rambling or hitting those awkward, dead-air moments. You don't need a full script—even just a few bullet points on a sticky note next to your phone can be a lifesaver.
Your title is the hook. It’s the very first thing people see when they get that notification. "Live Video" is boring. "Q&A: All Your Questions About Our New Launch!" or "Come With Me on a Behind-the-Scenes Tour!" is way more compelling. A punchy title tells people exactly why they should stop scrolling and tune in.
Getting these details right ensures your content is as sharp as your video quality, just like having the correct Instagram Reels size makes your short-form content look polished and professional.
Getting Comfortable with the Instagram Live Controls
Alright, you've done the prep, your lighting is good, and you know what you're going to talk about. The next step is getting familiar with your broadcast dashboard. Honestly, knowing what every little icon does before you're live is the secret to not fumbling around when people are actually watching. Think of it as your command center.
First, let’s get you to the right place. Pop open the Instagram app and tap that little "+" icon you use to create posts. From there, just swipe the menu at the bottom of the screen—past Post, Story, and Reels—until you land on "Live." This is home base for all your broadcasts.
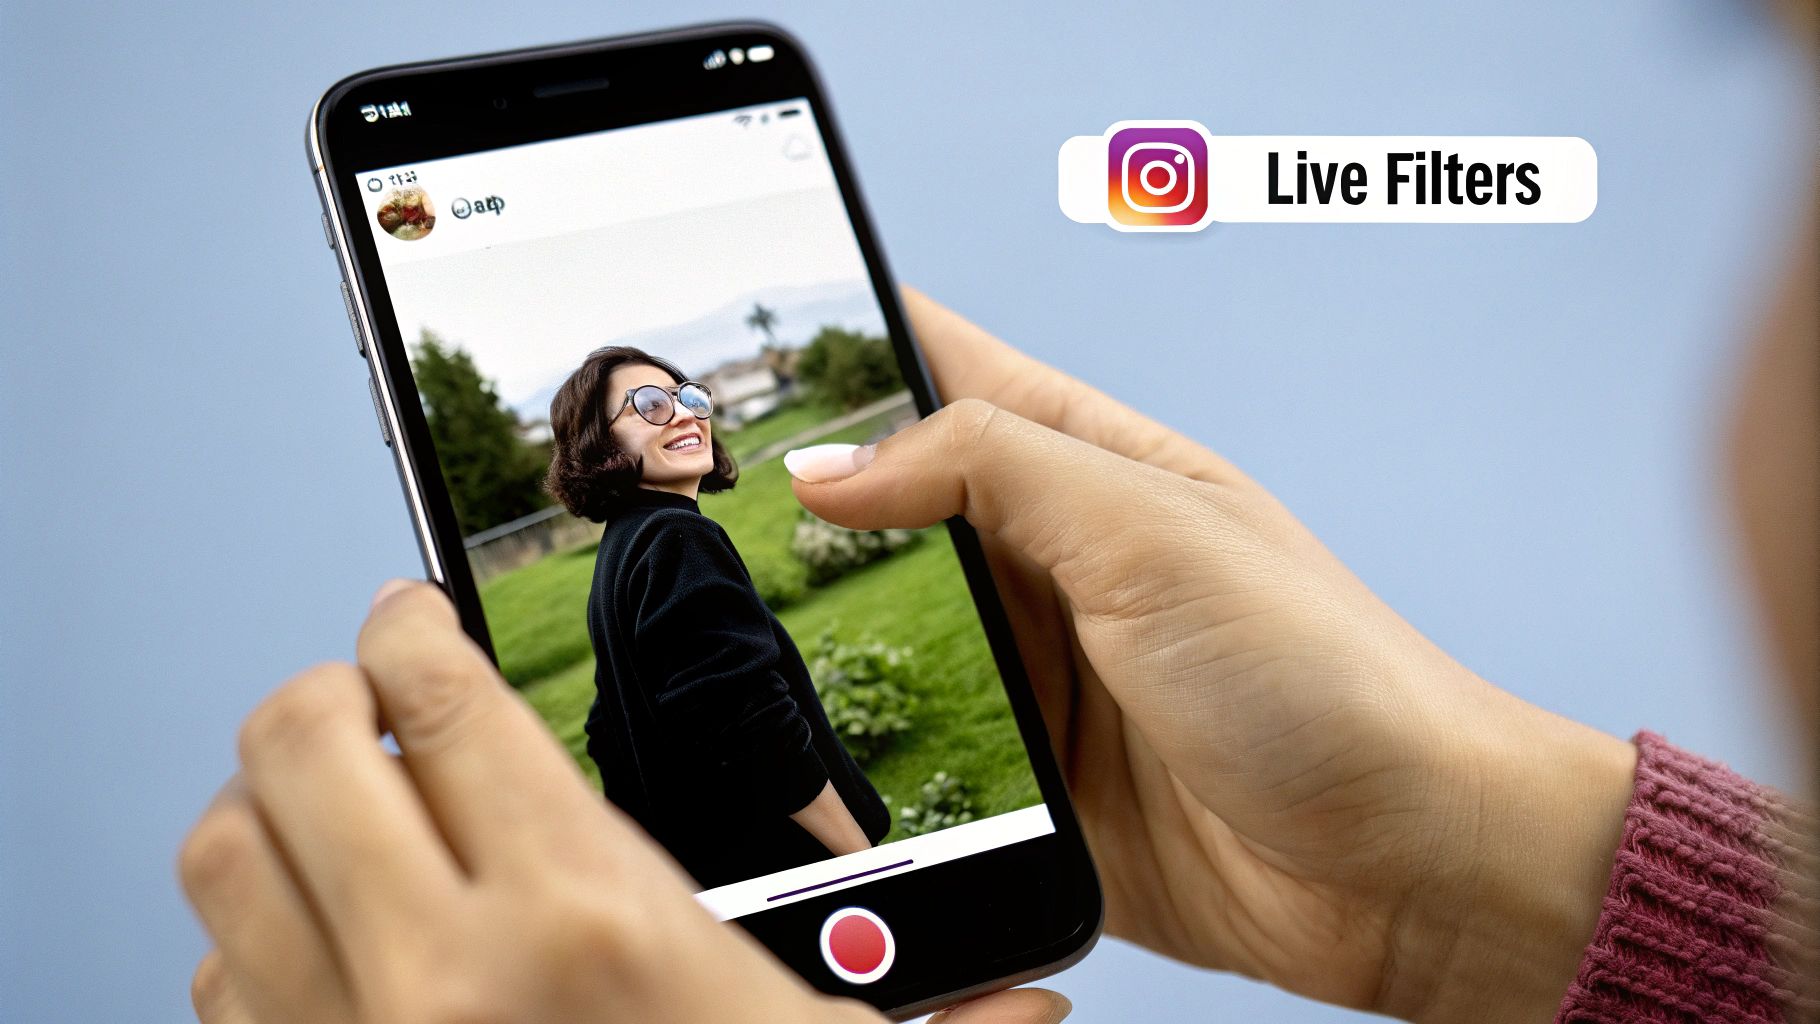
Before you smash that "Go Live" button, take a second to look around. On the left side of the screen, you’ll see a few icons. This is where you can give your Live a title (super important for catching people's attention as they scroll) and play with filters by tapping the sparkly stars icon. A good filter can make all the difference on a low-energy day!
Mastering the Live Screen in Real Time
The moment you go live, a new set of controls pops up. Getting these down will make you look like a total pro.
- Pinning a Comment: Got a key takeaway, a link to your shop, or the main topic you want everyone to see? Just type it in the comment box, then tap and hold on your comment to "Pin" it. It'll stay stuck to the top for every single person who joins.
- Managing the Vibe: Sometimes the comments section can get a little… wild. If things are getting off-topic or you just want to focus, tap the three dots in the comment box. This is where you can turn commenting off completely.
- Flipping the Camera: Want to give a quick tour of your space or show off a product? Just tap the icon with the two circling arrows. It flips the view between your front and back cameras without any awkward interruptions.
This simple breakdown shows the key permissions and checks you need to have in place. It's all about making sure your account and your phone are actually ready to stream.
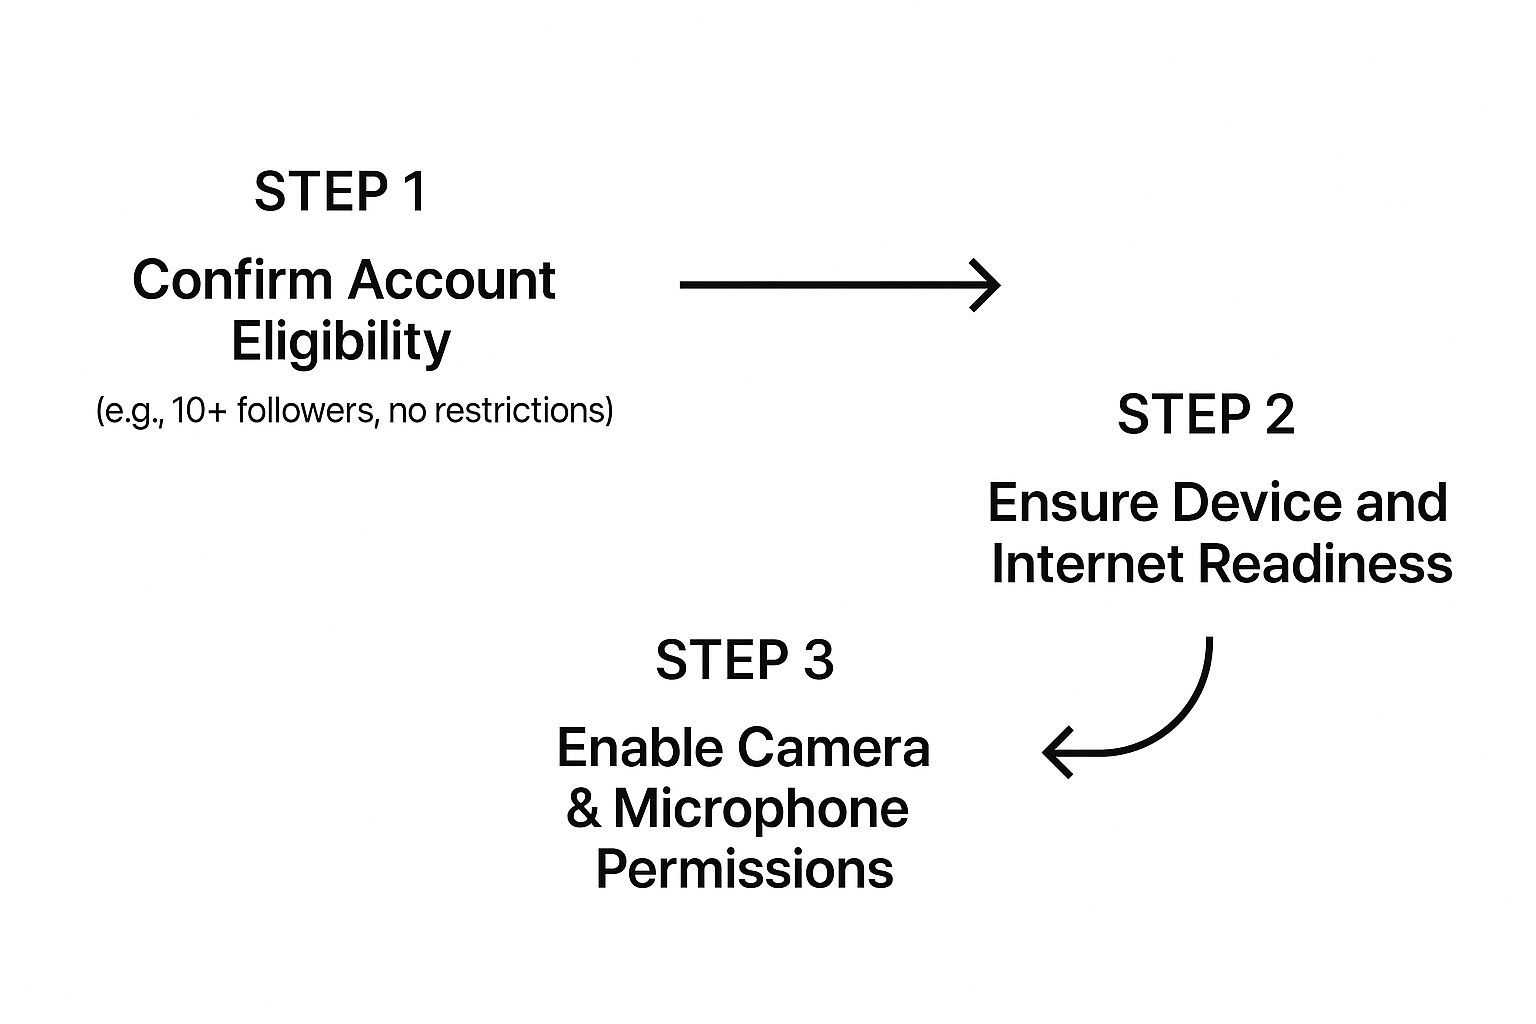
As you can see, a smooth Instagram Live really just comes down to a few basic setup steps and knowing your way around the controls. Get these right, and you'll be ready to broadcast with confidence.
Crafting an Unforgettable Live Experience
Alright, you’ve done your homework, your tech is ready, and it’s finally showtime. Hitting that 'Go Live' button can feel like stepping onto a stage, but don't let the nerves get to you. This is where the magic happens—where your profile transforms from a static grid into a living, breathing community hub.
The second you start, fight the temptation to dive headfirst into your main topic. Your followers get a notification, but it takes them a hot minute to actually join. Use that first minute to warm up the room, remind everyone why you’re there, and let the viewer count start to tick up. A little patience goes a long way here; it keeps the early birds from getting confused and the latecomers from feeling lost.
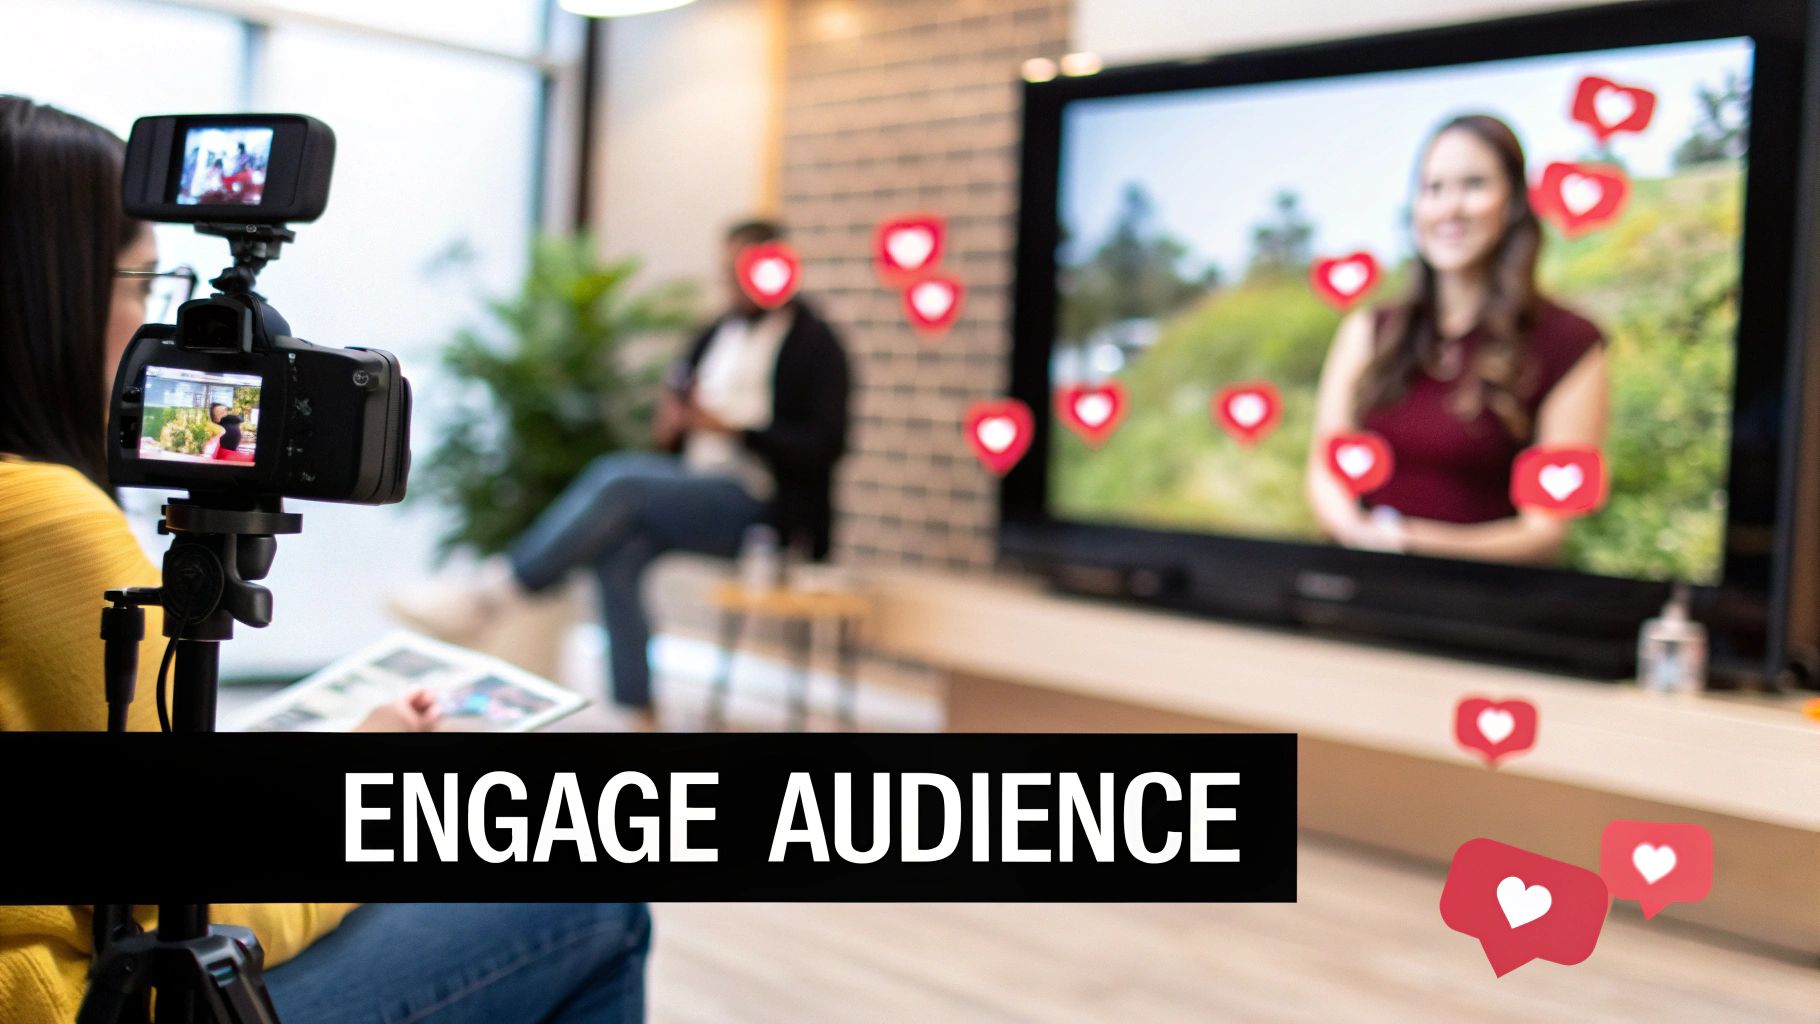
Engage Like a Pro from the Get-Go
Once you’ve got a few people in the room, it's time to make them feel special. Real-time engagement is the secret sauce of Instagram Live. It's what separates a killer broadcast from a forgettable one. Your mission is to make every single viewer feel like they’re part of a conversation, not just a face in the crowd.
Here are a few tricks I’ve learned to get the chat buzzing:
- Give a Warm Welcome: As people pop in, give them a shout-out by name. A simple, "Hey, great to see you!" works wonders.
- Read Comments Out Loud: When someone leaves a great comment, acknowledge it. Reading it aloud shows you’re paying attention and that their input matters.
- Master the Q&A Feature: See that little question mark icon? Tap it. This is where you can find questions from your audience and even feature one on-screen for everyone to see.
By turning your monologue into a dialogue, you're doing more than just sharing info. You're building a fiercely loyal community that feels genuinely connected to you and your brand. You can't put a price on that.
Bringing a Guest Onboard
Looking to double the fun and the energy? Invite a guest! Bringing someone else into your live stream adds a fresh, conversational vibe that keeps your audience hooked. Just tap the icon with two smiley faces, and you can invite anyone who's currently watching to join you on-screen.
This is a game-changer for interviews, brand collaborations, or just a good old-fashioned Q&A session. A guest doesn't just bring their personality; they bring their audience, which can instantly expand your reach. It's a killer strategy, especially in growing markets. Just look at the livestreaming scene in the MENA region—it was valued at a whopping USD 8.1 billion in 2024 and is projected to hit USD 17.8 billion by 2030. That tells you everything you need to know about how much people love this stuff. You can read more about the livestreaming economy's growth to see just how big this is getting.
Don't Just End It—Maximize It: What to Do After You Go Live
Alright, you've wrapped up your Live, the adrenaline is fading, and you're tempted to just hit 'End' and call it a day. Hold on a second. The moments after you stop streaming are a golden opportunity to squeeze every last drop of value from your hard work.
The first thing Instagram will ask is what you want to do with the video. Your initial, can't-miss move is to share the replay to your Stories. This keeps it live for another 24 hours, letting anyone who missed the live event catch up. It's a simple click that instantly expands your reach.
Give Your Content a Second (and Third, and Fourth) Life
Beyond the immediate Story share, the most crucial step is to download the video to your camera roll. That raw video file is pure content gold. Your hour-long Q&A or tutorial isn't just a single piece of content; it's the raw material for a dozen more.
Think of it as a content goldmine. You can start by:
- Creating Reels: Find the juiciest 1-minute soundbites, the funniest moments, or the most powerful tips and chop them up into shareable Reels.
- Designing Quote Cards: Did you drop a killer one-liner or a profound piece of advice? Pull it out, slap it on a branded graphic, and post it to your feed.
- Writing a Blog Post: Take the core theme of your Live, transcribe the best parts, and expand on them in a detailed blog post for your website.
A live video is rarely a one-and-done deal. Repurposing it respects the effort you put in and ensures your message connects with people who prefer different types of content, long after the broadcast is over.
By seeing which clips or quotes get the most love, you get direct feedback on what your audience craves. Diving into the best social media analytics tools can help you pinpoint these high-performing moments, giving you a roadmap for what to focus on in your next Live. This isn’t just about posting more; it’s about working smarter and making sure every broadcast pays dividends for weeks to come.
Pro Tips for Making Your Instagram Live Unforgettable
So, you know how to hit the "Go Live" button. Great. But turning a simple stream into a must-see event that people actually talk about? That's a whole different ball game. The real secret sauce is in the prep work and the little details that keep your audience hooked.
One of the biggest rookie mistakes is just going live out of the blue. Don't do it! Promote your live session in advance. Seriously, this is a game-changer. Tease it in your Stories with a countdown sticker or create a slick graphic for your feed announcing the topic and time. You’re building hype, and that anticipation is what gets you a flood of viewers right from the start.
Nail Your Timing and Tell People What to Do
Timing is everything. You could have the most amazing content, but if you go live when your followers are all asleep or at work, you're just talking to yourself. Your best friend here is Instagram Insights. Pop in there and see when your audience is most active. Aim for those peak hours to get the biggest bang for your buck.
Consider this: globally, 33% of people who watch livestreams are doing it on Instagram. It’s a massive platform for real-time connection. You can even dig into more livestreaming stats to see just how big the opportunity is.
And once you have their attention, don't leave them hanging. You need a clear call-to-action (CTA).
Think of your CTA as the entire point of your broadcast. Do you want them to visit your website? Check out that new product you just unboxed? Follow the guest you have on? Spell it out for them.
Being direct turns people who are just watching into people who are actually doing something. These are the kinds of pro moves that not only make for a killer Live but also help you strategically increase your Instagram followers and create a community that can’t wait for you to go live again.
Got Questions About Instagram Live? We’ve Got Answers.
Feeling ready to hit that 'Live' button but still have a few questions rattling around? Don't worry, that's completely normal. Let’s clear up some of the most common things people wonder about before they start their broadcast.
Can I See Who's Watching My Live Video?
Absolutely! The moment someone tunes in, you'll see their username pop up at the bottom of the screen. A live viewer count also stays visible at the top, so you can always see how many people are with you in real-time.
This is your golden opportunity to connect. Give new arrivals a personal shout-out—it’s a small touch that makes a huge difference and makes your audience feel like they're truly part of the conversation.
What's the Time Limit for an Instagram Live?
You’ve got a ton of time to play with. Instagram lets you broadcast for up to four hours straight. Gone are the days of being abruptly cut off after an hour.
This extended time is perfect for deeper, more immersive content. Think about hosting a detailed workshop, an "ask me anything" session that actually answers everything, or even a live co-working session. The possibilities are huge.
And people are definitely tuning in. In the UAE, for example, a staggering 115,000 social media users go live every day. The local livestream market is on a rocket ship, projected to jump from $1.9 billion to $3.4 billion by 2030. That’s a massive audience waiting for great content, and you can get all the details on the booming livestreaming industry in the UAE on Netinfluencer.
What Happens When My Live Stream Is Over?
Once you’ve said your goodbyes and tapped 'End', Instagram doesn't just throw your hard work away. You get to decide what happens next.
You'll be presented with a few handy options:
- Share it: Post the replay to your Story where it can be viewed for the next 24 hours.
- Download it: Save the full video to your phone. This is a must if you plan on repurposing the content for Reels, YouTube, or other platforms.
- Delete it: If it was a one-time-only event, you can choose to discard the video forever.
I always recommend saving or sharing your live video. Why let all that great content disappear? Giving your audience a chance to catch the replay maximizes your reach and makes sure your effort keeps paying off long after you've gone offline.
Ready to take your audience growth seriously and make sure your next live stream is packed with viewers? Socialbuss has the tools to get more eyes on your content. Take a look at our services at https://www.socialbuss.com and start building a more powerful online presence today.