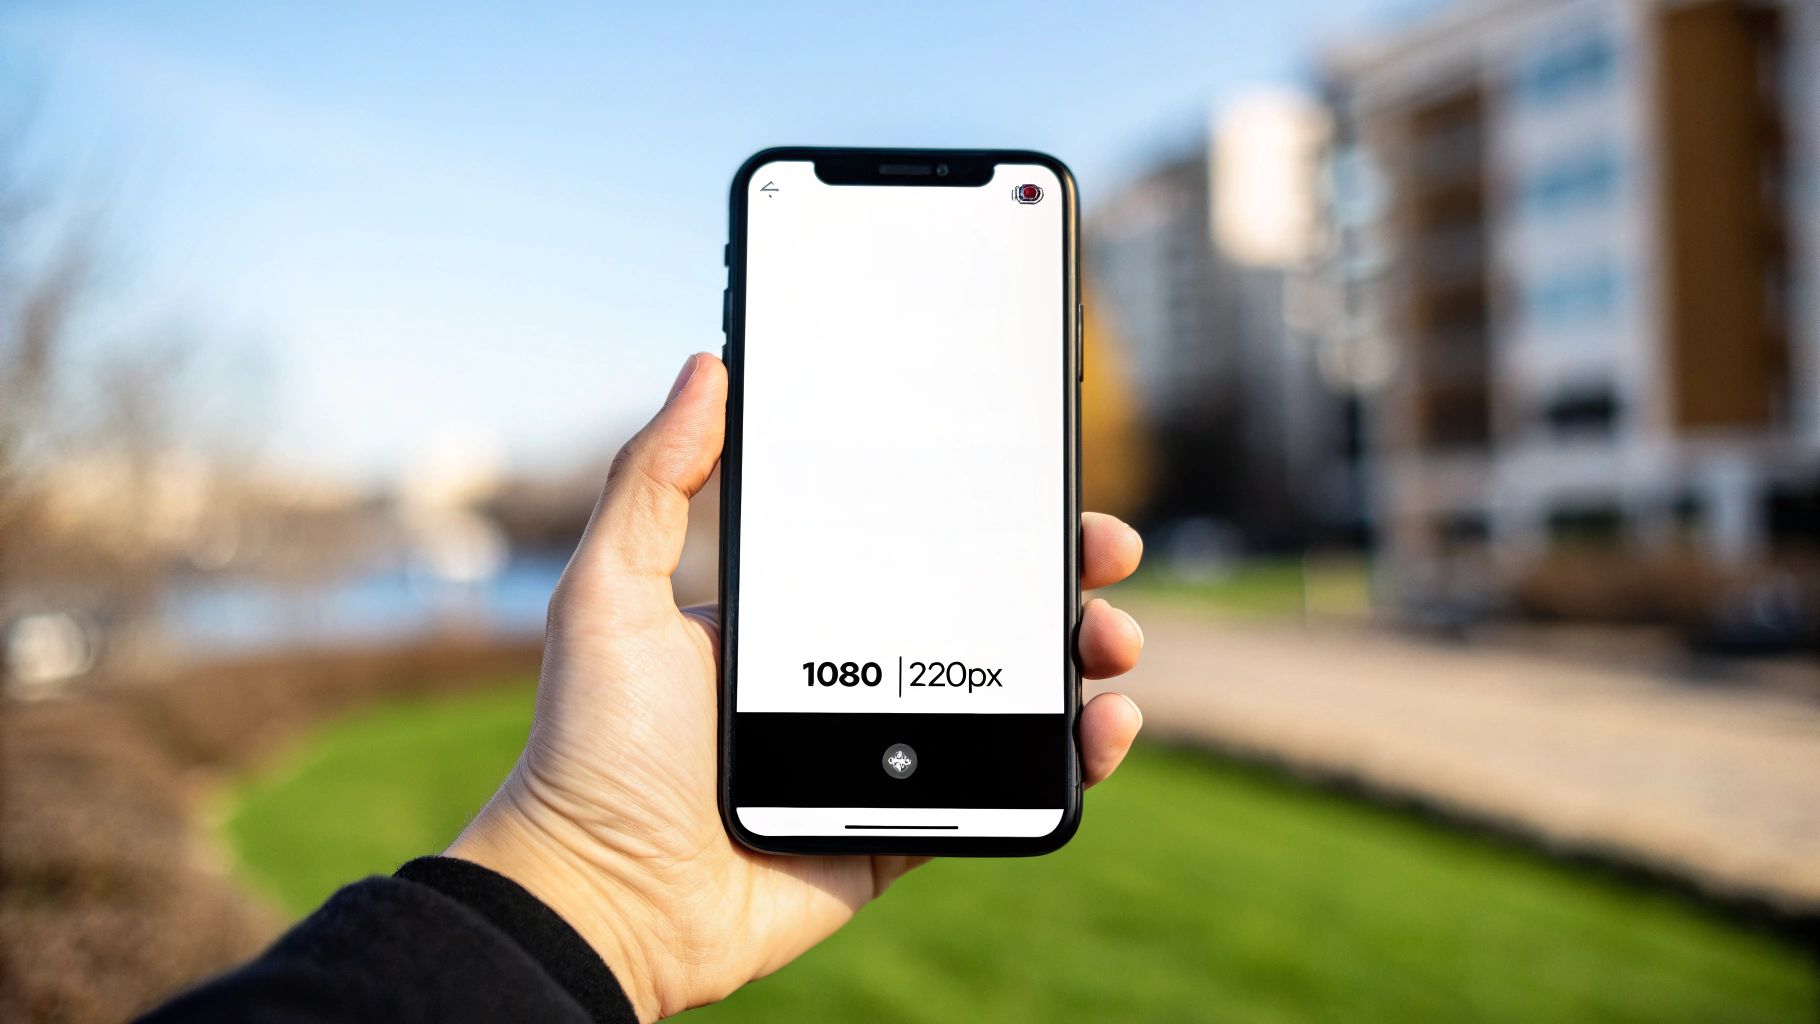
Let's cut right to the chase. The perfect Instagram Reels size is 1080 pixels wide by 1920 pixels tall. This gives you that slick, full-screen 9:16 aspect ratio that makes Reels so addictive.
Nailing these dimensions is non-negotiable if you want your content to look sharp, professional, and fill up the entire phone screen for a truly immersive experience. Get it wrong, and you're looking at weird cropping or a blurry mess.
Your Go-To Cheat Sheet for Flawless Reels
Tired of second-guessing your video specs? You've come to the right place. Think of this as your personal cheat sheet for creating Reels that look fantastic everywhere they appear on Instagram—whether that's the main feed, the dedicated Reels tab, or even when shared to Stories.
Getting these details right from the start means no more awkward cropping that cuts off half your face, no fuzzy pixelation, and most importantly, no vital parts of your video getting hidden behind Instagram's own buttons and text overlays.
Instagram Reels Technical Specifications at a Glance
For those moments when you just need the numbers and nothing else, here’s a quick summary of all the essential technical requirements for your next viral masterpiece.
| Specification | Recommendation |
|---|---|
| Dimensions | 1080 x 1920 pixels |
| Aspect Ratio | 9:16 (Full Screen Vertical) |
| Video Format | MP4 or MOV |
| File Size | Under 4 GB |
| Frame Rate | 30 FPS (Frames Per Second) |
| Reel Length | Up to 90 seconds |
Bookmark this table, screenshot it, do whatever you need to do! Memorizing these specs is the first step, but the real pro-move is understanding the "safe zones." These are the spots on your screen where you can safely place text, stickers, and your all-important calls-to-action without them being obscured by the app's interface.
So, Why Do Your Reels Dimensions Actually Matter?
Ever scroll through Instagram and notice some Reels just pop? They’re sharp, professional, and fill the screen perfectly. Then you see others that look... well, like a blurry, awkwardly cropped mess. The secret isn't always a high-end camera; more often than not, it comes down to getting the dimensions right.
Nailing your Instagram Reels size is one of those non-negotiable rules for anyone serious about getting views. If you upload a video with the wrong specs, Instagram’s algorithm shows no mercy. It will aggressively compress or crop your masterpiece, leaving it pixelated and fuzzy. Worse yet, it might chop off your brilliant call-to-action or hide it behind a username. Not the look we're going for.
It’s All About Quality and Engagement
Sticking to the official specs isn’t just about aesthetics; it’s about performance. When your Reel looks clean and fits the screen, it creates a seamless experience for the viewer. This is a huge green flag for the Instagram algorithm, signaling that you're creating high-quality content worth pushing to more people.
Think about it: users are spending more and more time glued to their Reels feed. That first impression is everything. With Reels capable of generating twice the engagement of a standard photo post, you can't afford to waste a single pixel. Want to dive deeper into the numbers? Check out the latest Instagram engagement trends here.
A perfectly formatted Reel doesn't just look professional—it respects your audience's time by delivering a seamless, immersive viewing experience that stops them from scrolling away.
Dodge These Common Disasters
Getting the Instagram Reels size wrong is a one-way ticket to some frustrating problems. Here are the usual suspects:
- Awkward Cropping: You’ve seen it. Important text or the best part of your visual gets sliced off, especially when the Reel shows up in the main Feed.
- Major Quality Loss: If your video isn't optimized, Instagram's compression algorithm will have a field day with it, turning your crisp footage into a blurry nightmare.
- Blocked by the UI: This is a classic. You place some crucial text on the screen, only to have it completely covered by the caption, like button, or your own username.
By simply mastering the correct dimensions from the start, you guarantee that your content shows up exactly how you planned it. To see how your own videos are holding up, you can track their performance with some of the best social media analytics tools out there.
Getting to Grips with the 9:16 Reels Aspect Ratio
Let's cut through the jargon. That technical term you keep hearing, aspect ratio, is really just about how your video fits on a screen. For Instagram Reels, the golden rule is 9:16. This is the universal standard for vertical video that feels perfectly at home on platforms like Instagram and TikTok, making everything look super immersive on your phone.
Think of it this way: the "9" is the width, and the "16" is the height. This tall, slender format is custom-built to take over a smartphone's entire screen. It’s designed to grab a viewer’s full attention, leaving no room for pesky black bars or weird borders. It’s precisely why videos shot vertically just feel so natural when you're endlessly scrolling.
Where Your 9:16 Reel Actually Appears
Now for the tricky part. You’ll create and upload your Reel in the glorious 9:16 format, but Instagram has other plans. It automatically crops your video to fit different spots within the app. Knowing this is the secret to framing your shots like a seasoned pro and avoiding embarrassing mistakes.
Your creation will pop up in a few different places, each with its own little haircut:
- The Main Feed (4:5 Crop): As people scroll their main feed, Instagram takes a little off the top and bottom, squishing your Reel into a 4:5 ratio.
- Your Profile Grid (1:1 Crop): When someone lands on your profile, that Reel cover image gets cropped into a neat 1:1 square.
What does this mean for you? Any vital text, logos, or that perfectly-timed visual gag you placed at the very top or bottom of your original 9:16 video is going to get mercilessly chopped off in the feed and grid. To dodge this bullet, keep all the important stuff safely in the center "safe zone" of your frame.
Mastering Reels Resolution and Safe Zones
Alright, let's dive into the nitty-gritty of getting your Reels looking sharp and professional. When it comes to resolution, there’s one number you need to remember: 1080 x 1920 pixels.
Think of this as your golden ticket. Shooting and exporting at this resolution gives your video the best possible chance of surviving Instagram’s notorious compression algorithm. If you upload anything less, you're rolling the dice, and your crisp video could easily end up looking like a blurry, pixelated mess. Always start with high-definition—it's non-negotiable for a polished look.
But getting the resolution right is only half the battle. The real secret sauce that separates the pros from the amateurs? Understanding the "safe zones."
Understanding Your On-Screen Real Estate
Ever notice how Instagram slaps its interface all over your video? You've got the like and comment buttons, your profile info, and the caption taking up precious screen space. If you're not careful, your most important text or a key part of your visual could get completely covered up. Talk about a rookie mistake.
You need to keep all the good stuff in the middle. To avoid this common pitfall, just follow the invisible borders of the safe zone. This handy little visual breaks it down perfectly.
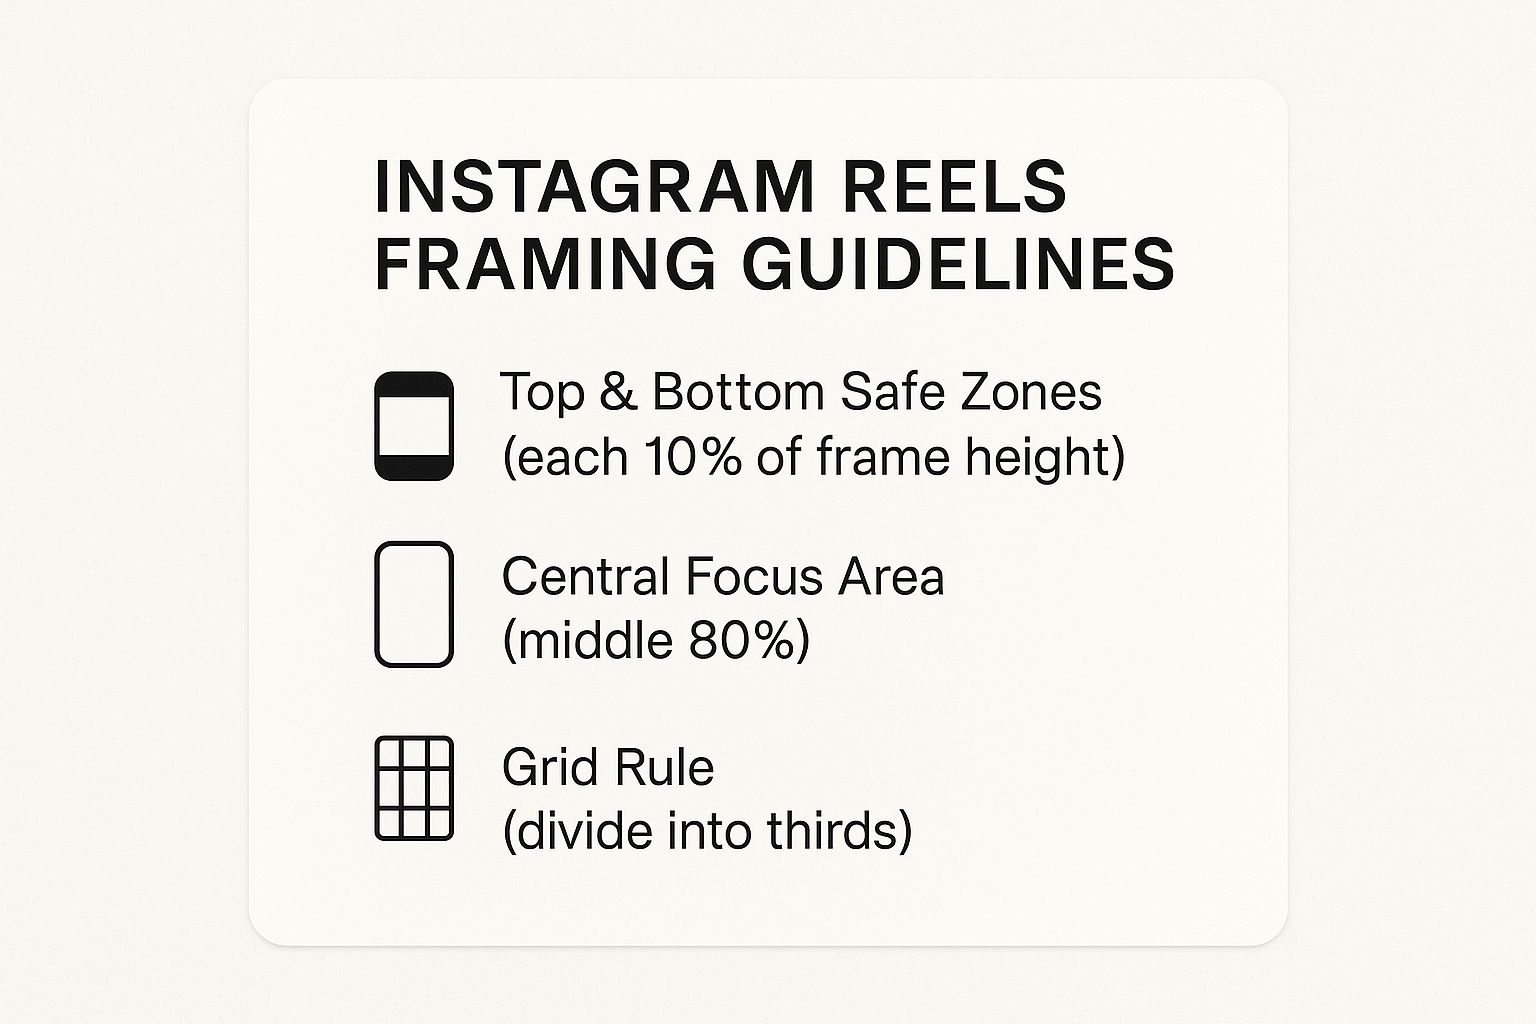
As you can see, the top and bottom 10% of your screen are basically no-go areas. The sweet spot, where all your main action and text needs to live, is the central 80% of the frame.
Think of it like this: your screen is a stage, the UI elements are the curtains, and that big middle area is the spotlight. Keep your star performers—your call-to-action, your face, your killer text overlay—right in that spotlight.
It’s a simple trick, but it makes a world of difference. Sticking to the safe zone guarantees every viewer sees exactly what you want them to see, instantly elevating your content from just another Reel to something that looks seriously professional.
Getting Your Video File Ready for Prime Time
So you've nailed the perfect Instagram Reels dimensions. Awesome. But don't hit that upload button just yet! Think of this next part as your pre-flight checklist. Getting the technical specs of your video file right is the secret sauce to a flawless upload and a crisp-looking final product. It's what separates the pros from the people wondering why their video looks like it was filmed on a potato.
First, let's talk file formats. While Instagram technically accepts a few different types, your go-to should always be MP4. It's the universal language of online video for a reason—it delivers a fantastic balance of high quality and manageable file size. Sticking with MP4 means Instagram’s system will process your Reel quickly and you'll avoid any weird compression artifacts.
File Size, Length, and Other Nitty-Gritty Details
Your creative ambition might be limitless, but your video file size isn't. Instagram puts a cap on Reel uploads at a pretty generous 4 GB. Honestly, for a clip that can only be up to 90 seconds long, you'd have to try pretty hard to exceed that limit.
But if your high-end editing software does export a monster file, you'll need to compress it. A great, free tool for this is HandBrake. It can shrink your file down significantly without sacrificing the quality you worked so hard to achieve.
Another key spec to keep an eye on is your frame rate. Aim for 30 frames per second (fps). This is the sweet spot for social media video. It gives you that buttery-smooth motion that looks professional without bloating your file size unnecessarily.
To make it super simple, here's a quick checklist to run through before you upload. Getting these details right ensures your Reel uploads without a hitch and looks exactly as stunning as you imagined.
Reels Video File Checklist
| Attribute | Specification |
|---|---|
| Recommended Format | MP4 (with H.264 Codec & AAC audio) |
| Maximum File Size | 4 GB |
| Frame Rate | 30 fps (frames per second) |
| Maximum Length | 90 seconds |
Once you've ticked off all these boxes, you're officially cleared for takeoff. Go ahead and share that masterpiece
Designing a Reel Cover That Gets Clicks
Your Reel cover is your movie poster. It’s the flashy, eye-catching thumbnail that has to fight for attention on your profile grid and the chaotic Explore page, screaming, "Watch me!" Making it count isn't just a good idea; it's essential.
Think of it this way: you're designing for two completely different spaces at the same time. Your cover needs to shine as a full-screen 1080x1920 pixels showstopper, but it also has to look just as good when Instagram crops it down to a 1:1 square for your feed. Nailing this dual-purpose design is the secret to a polished, professional-looking profile.
Choosing Your Perfect Cover
You've got two solid options for creating a killer cover. The first is to simply scrub through your video and pluck out a single, compelling frame that captures the essence of your Reel. The second, which gives you far more creative control, is to upload a custom-designed image straight from your camera roll. This is perfect for keeping everything on-brand.
A great cover is often the only thing standing between a casual scroll-by and a click-through. It’s your best shot at stopping a user dead in their tracks and can seriously boost your views.
Whichever path you take, always, always keep the 1:1 square crop in mind. Center your most important visuals or text. This simple trick ensures nothing critical gets awkwardly chopped off when people see it on your grid. A stunning cover paired with a killer caption is a winning formula; if you need some inspiration, check out these classy captions for Instagram to seal the deal.
Your Burning Questions About Reels Sizing, Answered
Got a few more questions rattling around in your head about the perfect Instagram Reels size? No problem. Let's tackle some of the most common hangups so you can post with confidence. Getting these specs right really is a game-changer.
What Happens If I Upload a Reel With the Wrong Dimensions?
If your Reel doesn't fit the required size, Instagram's algorithm will step in and try to "help" by automatically cropping or resizing your video. The result? Usually a disaster. You'll likely end up with awkward black bars, pixelated footage, or the best parts of your video getting unceremoniously chopped off the screen.
To dodge this mess, always make sure your final edit is set to 1080x1920 pixels before you even think about hitting that upload button.
Can I Just Use a Horizontal Video for a Reel?
You can, but please don't. While Instagram will let you upload it, a horizontal video will be squashed into the vertical 9:16 frame with huge, ugly black bars at the top and bottom. It’s a surefire way to kill your vibe and send viewers scrolling past.
For the best results, always shoot and edit your videos vertically. This simple habit ensures you're using every inch of that valuable screen space to grab and hold your audience's attention.
It's a small tweak that can make a massive difference in how your content performs, especially when you're trying to get in front of some of the 726.8 million people scrolling through Reels worldwide. If you want more strategies for reaching that massive audience, check out our guide on how to increase your Instagram followers.
Ready to take your social media game to the next level? Socialbuss offers the tools and services you need to boost your presence and achieve your growth goals. Check out our solutions at https://www.socialbuss.com.